Building a home lab is one of the best ways to learn real-world infrastructure, security, networking, and application hosting. It gives you a place to experiment, break things, fix them, and understand how modern services actually work.
But once you start exposing services outside your house, even just for your own use, you stop playing with a toy environment. You are putting something on the internet. And the internet is full of bots, scanners, opportunists, and automated garbage looking for anything they can reach.
That is why protecting your home lab matters.
A lot of modern browsers and apps now expect valid HTTPS connections. Many services behave poorly, throw warnings, or outright refuse to work cleanly if SSL is not configured properly. So if you want a home lab that feels modern, works reliably, and is not held together with duct tape, you need to understand a few key pieces:
- valid SSL certificates
- dynamic DNS
- reverse proxies
- wildcard certificates
- Cloudflare Tunnel as an alternative to direct exposure
This is not about making your home lab “enterprise.” It is about making it usable, trustworthy, and less reckless.
Why SSL matters now
Years ago, people were more willing to tolerate certificate warnings, raw IP addresses, and sketchy browser popups. Those days are mostly gone.
Today, HTTPS is table stakes. Browsers push hard for encrypted connections, and many applications assume secure endpoints by default. Let’s Encrypt helped make that standard by offering free, automated certificates through the ACME protocol, so there is really no good excuse anymore for running public-facing web services with broken or self-signed certs unless you are staying entirely internal.
A valid SSL certificate gives you a few big wins:
It encrypts traffic between the user and your service. It proves that the domain presented is one you control. And it removes the ugly browser warnings that immediately make a setup look amateur or unsafe.
That does not magically make your service secure. A valid cert does not fix weak passwords, exposed admin pages, or outdated containers. But it is one of the foundational pieces that needs to be in place.
The basic Let’s Encrypt concept
At a high level, Let’s Encrypt is a certificate authority that issues free SSL/TLS certificates. It uses an automated system called ACME to verify that you control a domain before issuing a certificate.
The rough process looks like this:
- You point a domain or subdomain at your service.
- An ACME client requests a certificate.
- Let’s Encrypt verifies you control that domain.
- The certificate is issued.
- Your system renews it automatically before expiration.
That last part matters. SSL in a homelab should not be a hand-built, once-a-year panic event. It should be automated.
One thing worth noting: Let’s Encrypt’s traditional certificate model has been 90-day certs, and the organization has already outlined a move toward even shorter lifetimes in newer profiles and future defaults. That makes automation even more important. If your certificate process is manual, your setup is already behind.
The problem with home internet: dynamic IP addresses
This is where a lot of home lab setups hit reality.
Most people do not have a nice static public IP at home. Your ISP often gives you a dynamic external IP, which means it can change. Maybe not every day, maybe not even every month, but it can change. When it does, anything pointing to your old IP breaks unless you update DNS.
That is where Dynamic DNS comes in.
Services like No-IP exist to keep a hostname pointed at your changing home IP. The idea is simple: a client on your network, or sometimes your router itself, detects when your public IP changes and updates the DNS record automatically. That way your chosen hostname still resolves correctly even though your ISP moved the target.
For a home lab, Dynamic DNS solves a very practical problem:
You want something like lab.yourdomain.com or yourname.ddns.net to keep working without manually fixing DNS every time your ISP decides to reshuffle things.
Without DDNS, your external access setup is fragile. With it, your domain has a fighting chance of staying mapped correctly.
One domain, many services
Once people get the first service working, the next question usually becomes:
How do I host more than one thing?
Maybe you have:
plex.yourdomain.comnextcloud.yourdomain.comphotos.yourdomain.comdash.yourdomain.com
You usually do not want each one requiring a totally separate public IP or a random collection of ugly ports. That is where a reverse proxy comes in.
Reverse proxy basics with NGINX
A reverse proxy sits in front of your internal services and routes incoming traffic to the correct destination based on the hostname or request. Instead of exposing every service directly, you expose the proxy, and it forwards requests where they belong.
That gives you a cleaner setup:
- one public entry point
- centralized SSL handling
- simpler routing
- easier certificate management
- less port chaos
In a home lab, this is commonly handled with NGINX, NGINX Proxy Manager, Traefik, or similar tools. NGINX Proxy Manager in particular has become popular because it gives people an easier interface for managing hosts, certificates, redirects, and access controls, including Let’s Encrypt support.
Conceptually, it works like this:
A request comes in for nextcloud.yourdomain.com.
The reverse proxy sees that hostname and forwards the request to the internal IP and port where Nextcloud is actually running.
A request for dash.yourdomain.com gets sent somewhere else.
From the outside, everything looks neat and consistent.
That is a big deal in a home lab because it lets you scale from “one exposed app” to “a small ecosystem” without turning your firewall into spaghetti.
Wildcard certificates and when they make sense
If you are running multiple subdomains, wildcard certificates become attractive.
A wildcard certificate covers something like *.yourdomain.com, which means it can secure many subdomains under that domain. Let’s Encrypt does support wildcard certificates, but they must use the DNS-01 challenge rather than the simpler HTTP-based validation methods.
That requirement matters.
A wildcard cert is convenient, but it usually means your DNS provider needs to support the validation flow you are using, often via API. This is one reason people choose DNS providers and reverse proxy tools carefully. If the DNS automation is clumsy, wildcard certs become annoying fast.
The upside is obvious:
Instead of requesting separate certificates for every single service, you can often manage one wildcard cert for your subdomain stack.
The downside is that wildcard certs are not automatically the best answer for every setup. Sometimes individual certs per service are cleaner and more limited in scope. A wildcard cert is powerful, which also means it deserves to be handled carefully.
A practical home lab flow: domain + DDNS + reverse proxy + SSL
For a lot of people, the core pattern looks like this:
You buy or use a domain.
You use Dynamic DNS to keep that domain or subdomain pointed at your changing home IP.
You forward the needed ports from your router to your reverse proxy.
Your reverse proxy terminates SSL and routes traffic to internal services.
Let’s Encrypt issues and renews the certificates.
That setup is common because it works, and it teaches you a lot about how the internet side of hosting actually behaves.
But let’s be honest: it also means you are opening inbound access to your home network. Even if you do it carefully, that increases exposure. Done well, it is manageable. Done sloppily, it is asking for trouble.
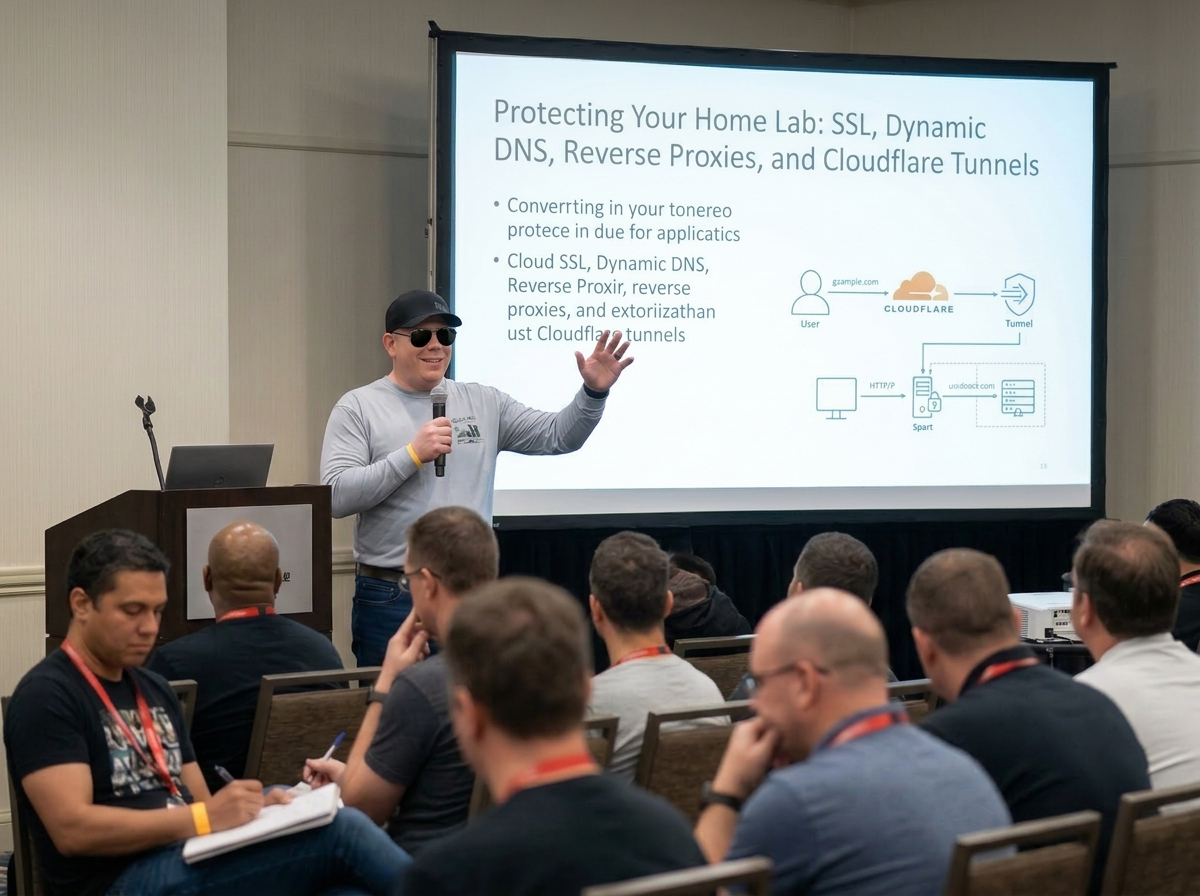
The other major option: Cloudflare Tunnel
This is where Cloudflare Tunnel has become a very popular home lab alternative.
Cloudflare Tunnel lets you publish services without exposing a public inbound port on your home router. Instead of opening your network to the internet and waiting for traffic to come in, a lightweight daemon called cloudflared runs inside your environment and creates an outbound connection to Cloudflare. Traffic then flows through Cloudflare’s network to your local service. Cloudflare describes it as a way to connect resources without a publicly routable IP and without opening inbound ports.
That is the appeal in plain English:
- no direct inbound exposure to your home IP
- no port forwarding for the published app
- easier public hostname management
- access to Cloudflare’s edge and security controls
For many home lab users, that is a cleaner and safer model than punching holes through the router.
The basic flow is usually:
- Add your domain to Cloudflare.
- Install and authenticate
cloudflared. - Create a tunnel.
- Map public hostnames to local services.
- Let Cloudflare handle the internet-facing side.
This can be a great fit for dashboards, internal tools, low-traffic apps, admin portals, or services you want reachable without directly advertising your home IP to the world.
Why Cloudflare Tunnel is appealing in a home lab
For home labbers, Cloudflare Tunnel solves several headaches at once.
First, it removes the need for direct inbound exposure for supported services. That is huge. Your home IP does not need to sit there with ports open just because you wanted to reach a web app remotely. Cloudflare’s own docs describe the connection as outbound-only.
Second, it can simplify dynamic IP concerns. Since the connector initiates the outbound session, you are not depending in the same way on inbound traffic finding your current IP.
Third, it often pairs nicely with additional access controls. You can put authentication, policies, or zero-trust style gates in front of services that would otherwise be hanging out naked on the internet.
That said, this is not a magic wand either. You are trading one architecture for another. You are depending more heavily on Cloudflare’s ecosystem, and not every self-hoster wants that dependency. Some people want full traditional control. Others want the simpler security posture. Pick your poison honestly.
Reverse proxy versus Cloudflare Tunnel
This is where a lot of home lab posts get too tribal, so let’s cut through that.
Neither option is “the one true way.”
A traditional reverse proxy setup is great when you want direct control, standard web hosting patterns, and a setup that behaves like a more classic internet-facing service architecture.
Cloudflare Tunnel is great when you want to reduce direct exposure, avoid port forwarding, and simplify secure publishing for web-based services.
A lot of people actually use both.
For example, you might use a reverse proxy internally to organize and route services, while Cloudflare Tunnel publishes selected apps externally. That can give you the cleanliness of centralized routing and the reduced exposure of an outbound tunnel model.
The best option depends on your goals:
If your main goal is learning standard hosting patterns, reverse proxies and direct certificate management teach a lot.
If your main goal is securely exposing a few services from home with less inbound risk, Cloudflare Tunnel is very hard to ignore.
What this still does not solve
This is the part people skip, and they should not.
SSL, reverse proxies, DDNS, and tunnels are not the same thing as real security hygiene.
You still need to think about:
- strong authentication
- patching containers and hosts
- not exposing admin panels casually
- restricting who can reach what
- backups
- logging
- network segmentation
- not reusing passwords
- minimizing what is public in the first place
Too many home labs focus on “how do I make it reachable” and not enough on “should this be reachable at all.”
That second question matters more.
A sane starting point
If someone is just getting started protecting a home lab, I think the practical path looks like this:
Start with a real domain name.
Use a Dynamic DNS solution if your home IP changes.
Use HTTPS everywhere you can.
Put services behind a reverse proxy instead of exposing random ports.
Use Let’s Encrypt for automated certs.
Consider wildcard certs only if they actually simplify your setup.
Strongly consider Cloudflare Tunnel for services you want external without opening inbound ports.
And above all, expose less.
Because that is really the core lesson.
A good home lab is not the one with the most public endpoints. It is the one that teaches you useful skills without unnecessarily turning your house into a low-budget hosting provider with bad security decisions.
Final thoughts
A home lab should be fun, educational, and useful. It should not be reckless.
The good news is that the tools available now are much better than they used to be. Let’s Encrypt made real certificates free and automatable. Dynamic DNS services make changing home IPs manageable. Reverse proxies make multi-service hosting cleaner. And Cloudflare Tunnel gives home labbers a modern way to publish services without just cracking open the firewall and hoping for the best.
If you are serious about building a home lab that is actually usable in modern browsers and apps, SSL and access design are not optional details. They are part of the foundation.
And frankly, that is a good thing. It forces us to build better.